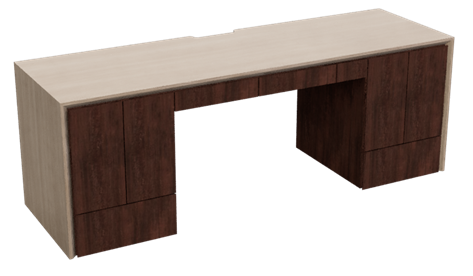
Inspired by the desk created by Zac Builds and found here, I decided to build my own hardwood desk which would house both my camera equipment and PC. Though similar to the design linked in aesthetic, the dimensions, features and actual design do differ to a significant degree.
I began by selecting the timber I would be using for my cabinets. It was important I did this all at once so that I could ensure that I had both enough timber and that it matched one another. This was important as otherwise I may reach a stage in my production where I’d have to compromise on the look of the timber in order to complete the build. After I had selected the timber, I was to use I cut all the pieces to the lengths then use the jointer to dress one side and then use the table saw to cut them to the desire 140mm width.
Following this I sanded them and then started matching them with one another to form the panels. It was important that these smaller sections matched both in their appearance and physically, with gaps between planks minimised. After these panels had been laid out, I simply had to mark where the biscuits were to go and then cut the biscuit slots into the wood.
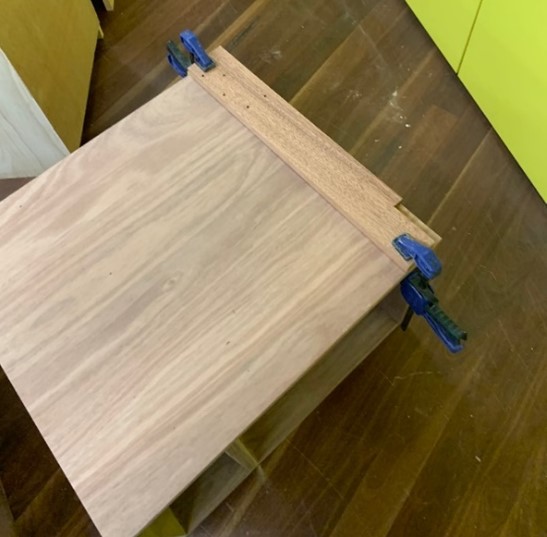
Next I put the various panels together and sanded them. This begun by using clamps, glue and most importantly biscuits to make the widening joints to construct the panels and shelves for the two cabinets. Additionally, while these were drying, I began to cut all the pieces I would need for the drawers which go into the cabinets. Aside from this the rest of the week was spent sanding down all the panels ensuring all glue was removed and no joints could be felt by touch and they visibly looked smooth.
While the shelves were drying and being sanded, I had the four vertical panels cut down to size on the table saw including a mitre cut along the top edge. I also marked up the side panels in preparation for the rebate along the bottom edge and the stop trenches in the middle section. I was then able to use the router with its fence to rout out these and then finish and square them off with a chisel. This process was then repeated for all four panels.
Once this was all complete then I
was able to the cut the mitres in the top shelves as well as cutting the biscuits slots used in the joint.
Finally in order to make the shelves fit into their respective rebates and
trench I had to sand back both the panel grooves and the edges of the shelves.
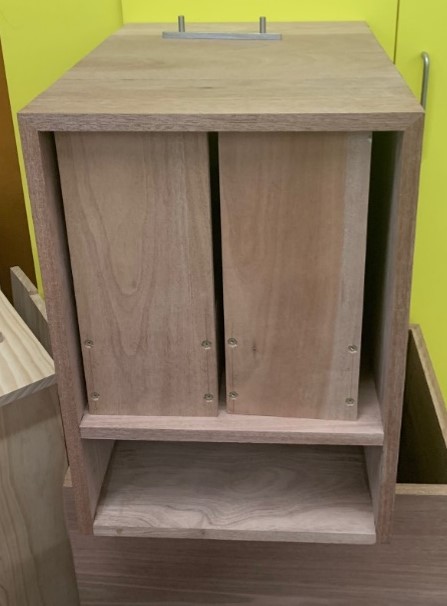
Once this was all complete then I was able to the cut the mitres in the top shelves as well as cutting the biscuits slots used in the joint. Finally in order to make the shelves fit into their respective rebates and trench I had to sand back both the panel grooves and the edges of the shelves. Next I assembled everything I had created up to that point. This primarily involved the assembly of the two cabinets.
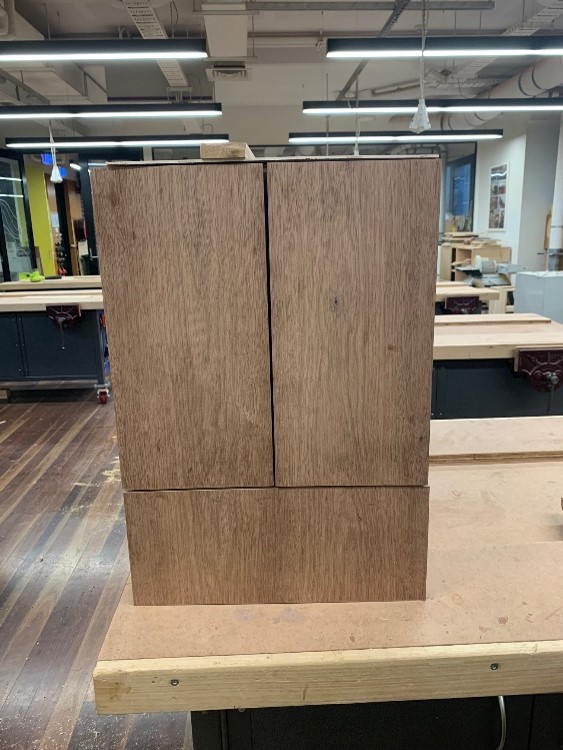
This required me to use a large number of clamps to ensure that the cabinets remained square throughout the drying process. Due to the difficulty of sanding certain areas, I was also careful not to leave any glue around the joints. In addition to the assembly of the cabinets I also found the time to assemble the vertical drawers.
Following the creation of the cabinets I began looking at what would be attaching to them. For the under desktop drawers the assembly which houses them attaches directly to the cabinets. Therefore, I began to cut these pieces and drill the holes which would allow me to attach them. Additionally larger holes had to drilled into both these side pieces and the cabinets themselves to allow for cable routing through the desk. I had to use the drill press to drill these into the side pieces as well as the cabinets as the drill bit required significant torque and pressure. Due to the bulky size of the cabinets I had to lower the drill presses platform significantly and prop the cabinets on that.
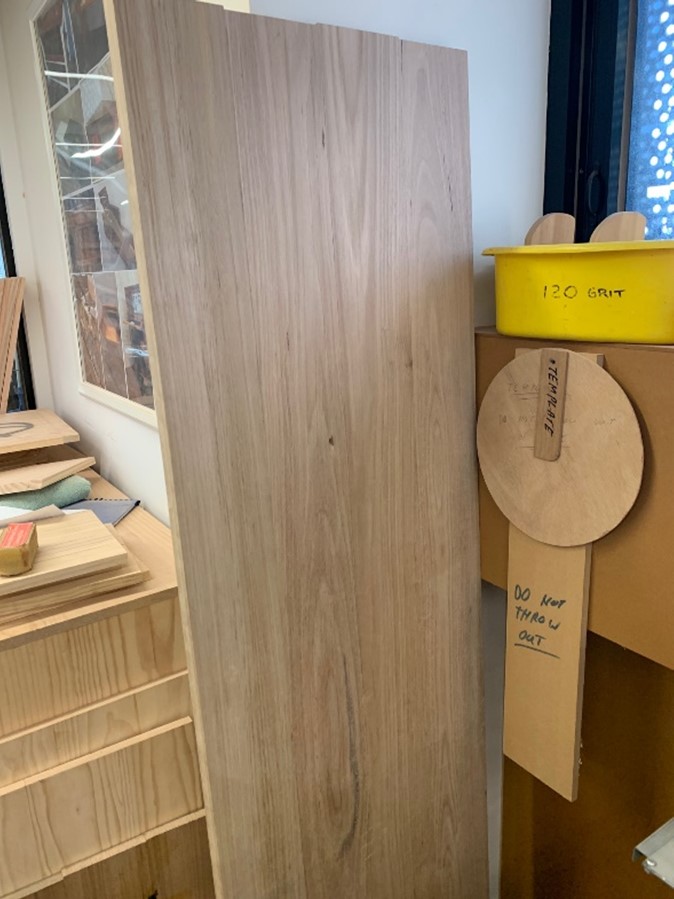
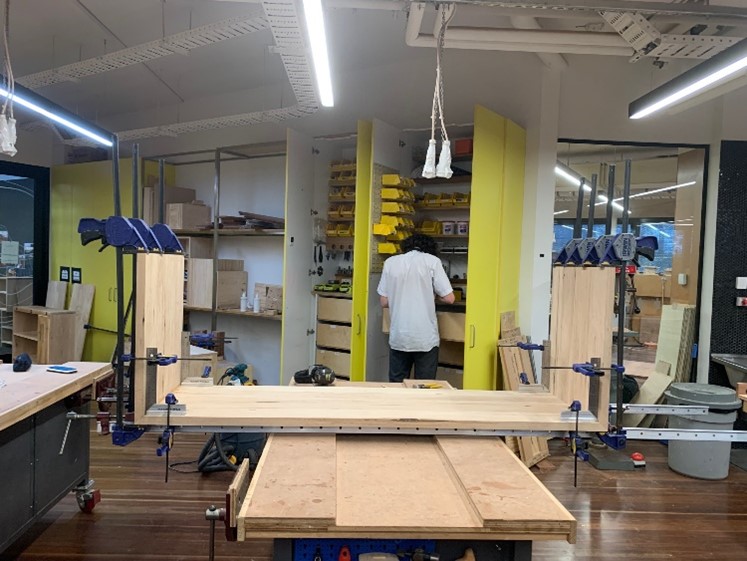
Next I began work on the desktop itself. This required me first selecting the timber I would use and them laying it out. I decided to use four 3m long pieces as it meant that all 3 sections of the desktop could come from a single length, this would allow me to have a matching grain on all three faces improving the aesthetics. I cut all the pieces for both the desktop itself and the side pieces. I then marked up the wood and cut the biscuit slots. Following this using a lot of biscuits glue and clamps I was able to create the desktop. Next came the laborious task of sanding down both sides of the desktop.
After this I did a lot of sanding; the large surface of the desktop took a lot of sanding due to small unevenness in the timber after being joined. Additionally, the glue being used had a tendency to go black on drying and soak into the wood. This meant that some time had to spent to sand back the wood to remove these imperfections.
I pretty repeated the same process to create the two side panels. They were glued and clamped together in the same way and then significant time was also spent sanding them down to be smooth to match the desktop.
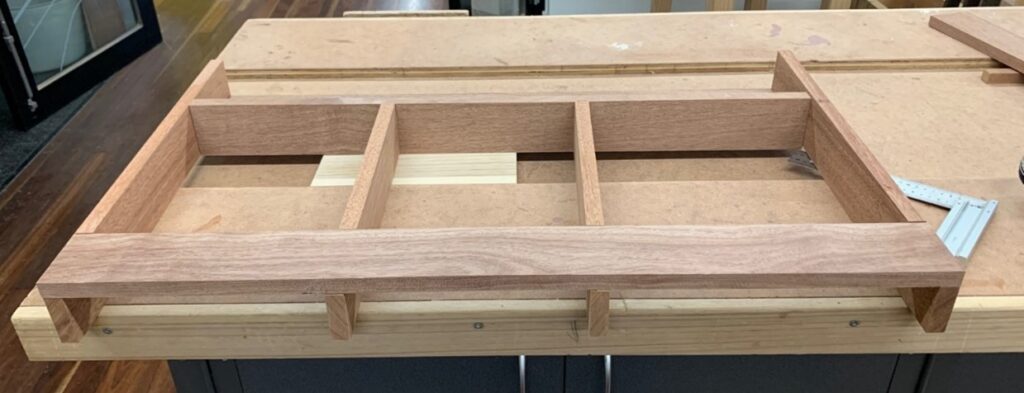
Next was the was the under desk assembly, this involved using the existing pieces and attaching them to their cross pieces. The rear cable storage bottom attached to its vertical piece using biscuits while everything else used butt joints with countersunk screws and glue. I also then used the measurements from this to dictate the dimensions of its draws and then in turn cut and construct them.
The desk really began to take shape this at this point with the desktop and cabinets all looking ready to be fitted together. However, I spent most of this week with a router cutting out the rebates in both the rears of the cabinets and the bottoms of the drawers. This was intended to allow for a recessed plywood sheet to then be attached to them.
Continuing this I was able to attach the desktop to its two side pieces. This was a big step in the project and one I really didn’t want to mess up. I spent most of the week ensuring that the rest of my project was ready for this step. Making sure all pieces had their necessary cable routing holes, all the drawers were done and had the plywood bottoms attached.
At this point the desk properly went past the point of no return. I started off by cutting the desktop and side pieces to length before cutting a mitre into them for the joint. As well as then cutting a mitre along one edge as it was a part of the design of the desk and allowed for access to the draw fronts to act as handles. Once this was done, I used the biscuiter to cut the biscuit slots into the ends ready for the mitre joint.
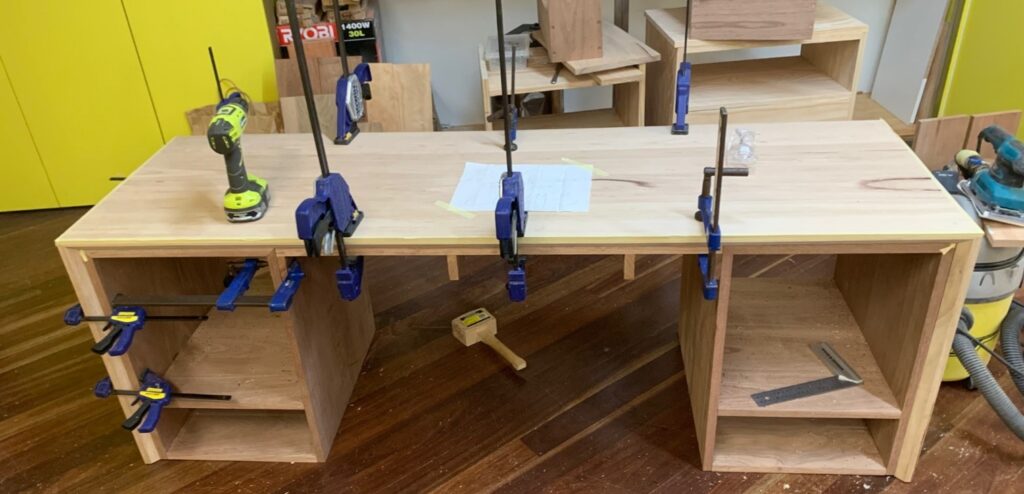
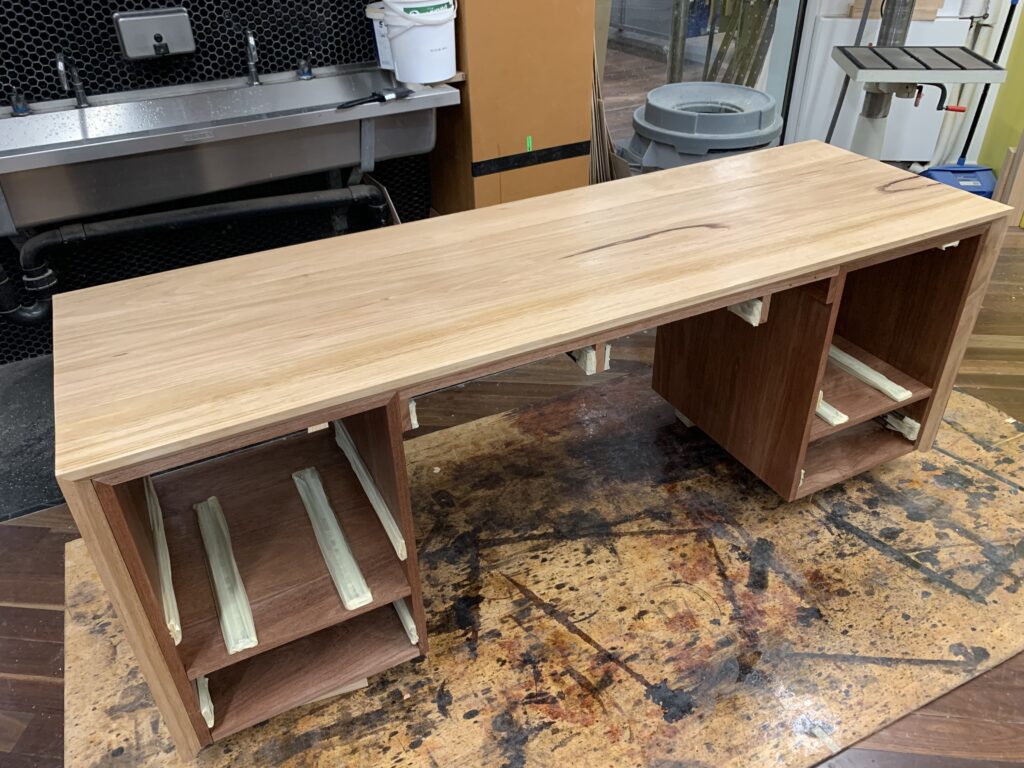
Finally, it was time to attach everything together. This was a stressful moment as everything had to be square and line up with each other. It took a lot of clamps and small adjustments in order attach everything so that it was in line. In particular making sure the corners met at exactly the right point and neither overlapped one another. I also then used some smaller clamps to hold a set square in each corner of the desktop to make sure that the joints remained square through the entirety of the drying process.
I had to now start thinking about how I’d eventually assemble the desk. This was an important consideration as due to its size and weight it would be difficult to move. For this reason, I planned for it to come apart by unscrewing and allowing for it to be moved in pieces. This required me to perfectly line up all the pieces and drill matching holes for it to eventually be assembled with. This took significant time and effort as time parts were a fraction too large to fit in. For example, I had to spend some time sanding the centre assembly so it could fit between the two cabinets.
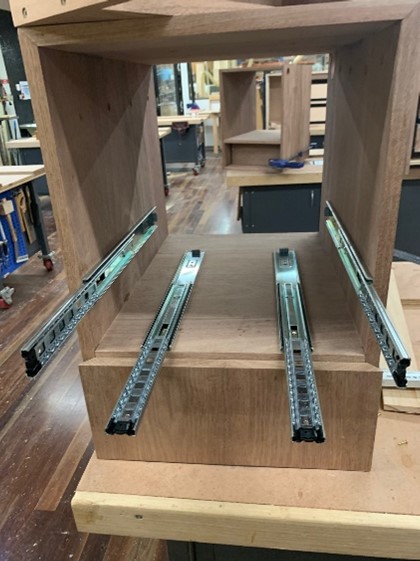
Next step was to carefully attach the drawer runners ensuring they were square and in the correct position. I then used pieces of plywood to keep consistent spacing before then attaching the drawers to their respective runners. This was a bit finnicky as lining up the long runners so that the thinner top drawers would not run into one another took a lot of trial and error. This problem was so prevalent because of the drawers only being attached on one side and the bottom. Meaning they would not self align, and instead follow the alignment of the bottom rail.
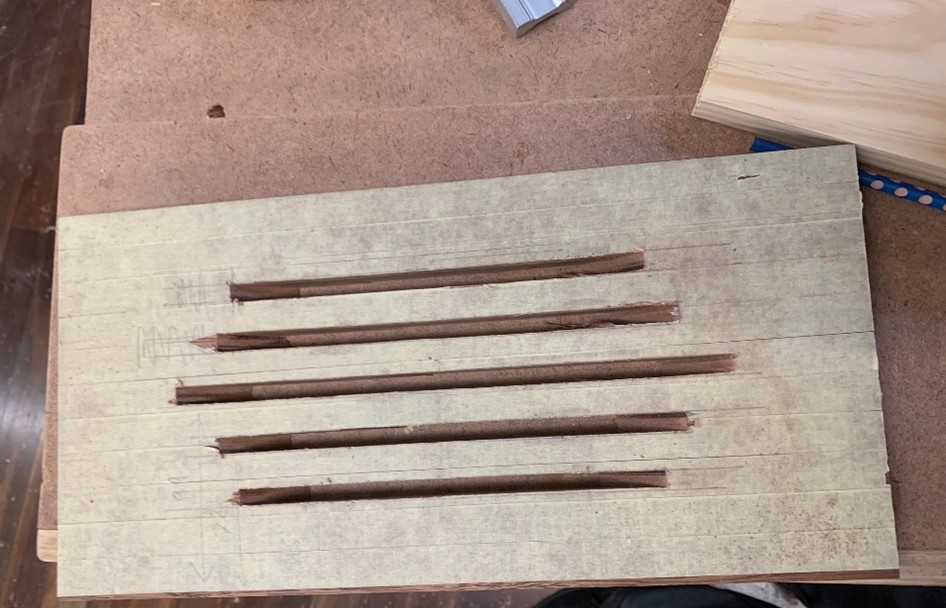
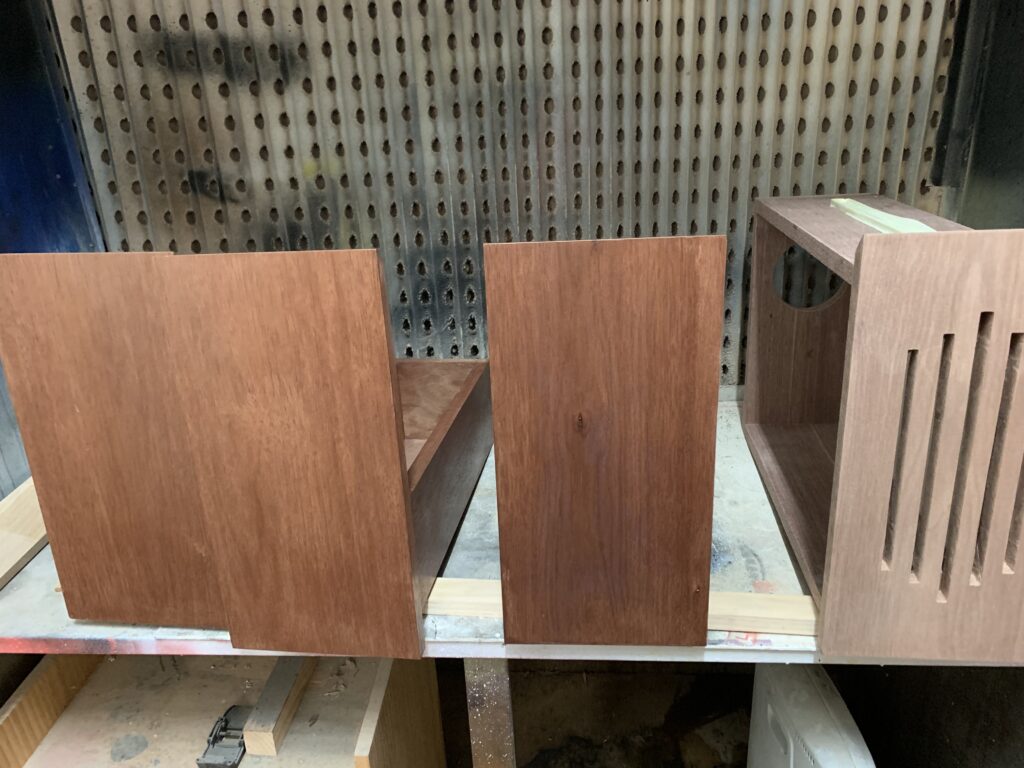
Then came the difficult part of cutting the slits for the intake vent for the PC. The majority of the wood was removed via drop saw. However, to remove the corners I had to use both a file and a chisel to slowly chip away at it and square up the edges. This resulted in the board partially splitting a few times, however this was remedied with some wood glue and a clamp and is not obvious to the eye.
Finally it was time to attach all the drawer faces to the desk and make sure they were correctly spaced and looked even. This step was very important as the front of the cabinet would be the most visible side and would impact heavily how the end product looked. The faces were attached simply using some glue and countersunk 30mm screws. I also then started sanding the entirety of the desk in preparation for the finish to be put on the product. I also spent some time researching possible metal legs to be used.
Other finished touched included sanding and preparation for the varnishing of the product. I had to be careful with this as some parts were to be joined together and these were not to be varnished at all to ensure that fit together. Additionally I had to be careful that the varnish did not impede the functionality of the product especially with regards to the drawer runners.
Pretty much all that was left to do was attach the cabinets to the desktop and varnish the whole desk. I ended up choosing a satin water based varnish rather than a gloss as I wanted to be able to see more the true colour of the wood.